This is Part 2 of my D365 F&O Local Demo Environment series.
Missed Part 1? Check out How to Install D365 F&O Demo VM
In my previous post, I covered how to install the Dynamics 365 Finance & Operations demo environment on a local host. Unfortunately, the 10.0.46 VM has a critical issue that blocks Purchase Requisition creation.
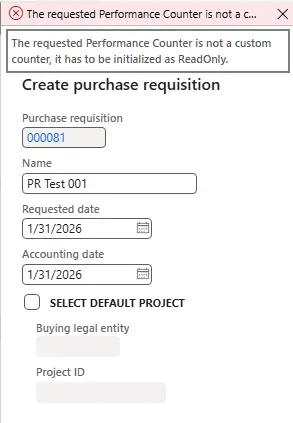
While I found Ali’s PowerShell workaround (which I’ll keep as a backup), I noticed that version 10.0.47 preview was recently released. This seemed like the perfect opportunity to explore the update process and potentially resolve the issue. Let’s dive into how to apply updates to your local demo VM.
Terminology
Before we begin, here are the essential terms:
- Deployable Package: A software package that can be deployed to your environment
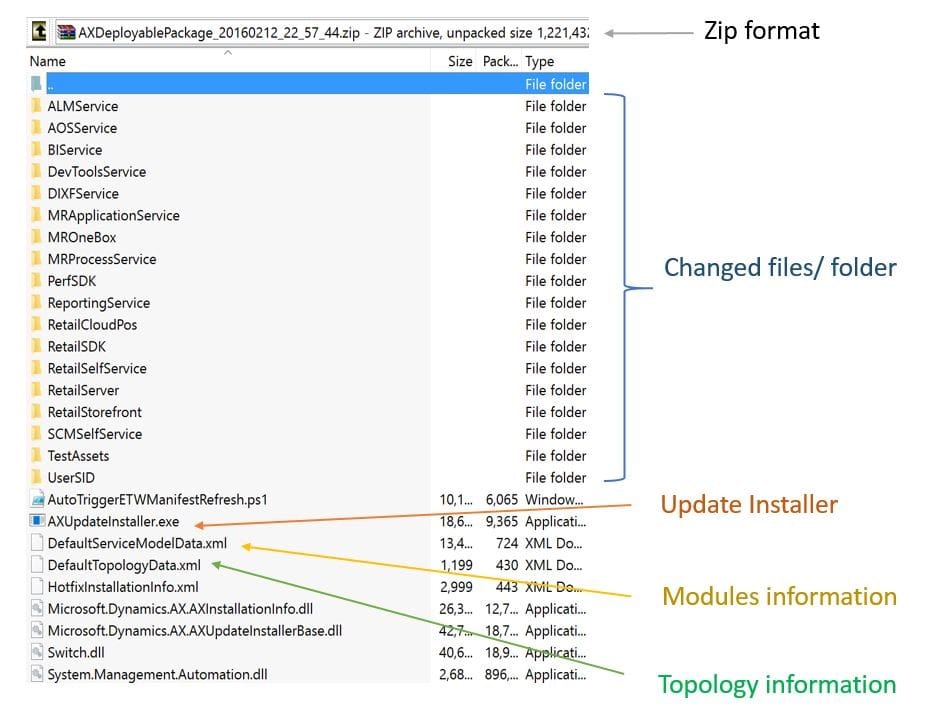
- AXUpdateInstaller: An executable installer created in Visual Studio
- Runbook: Contains the execution order and sequence required for deployment
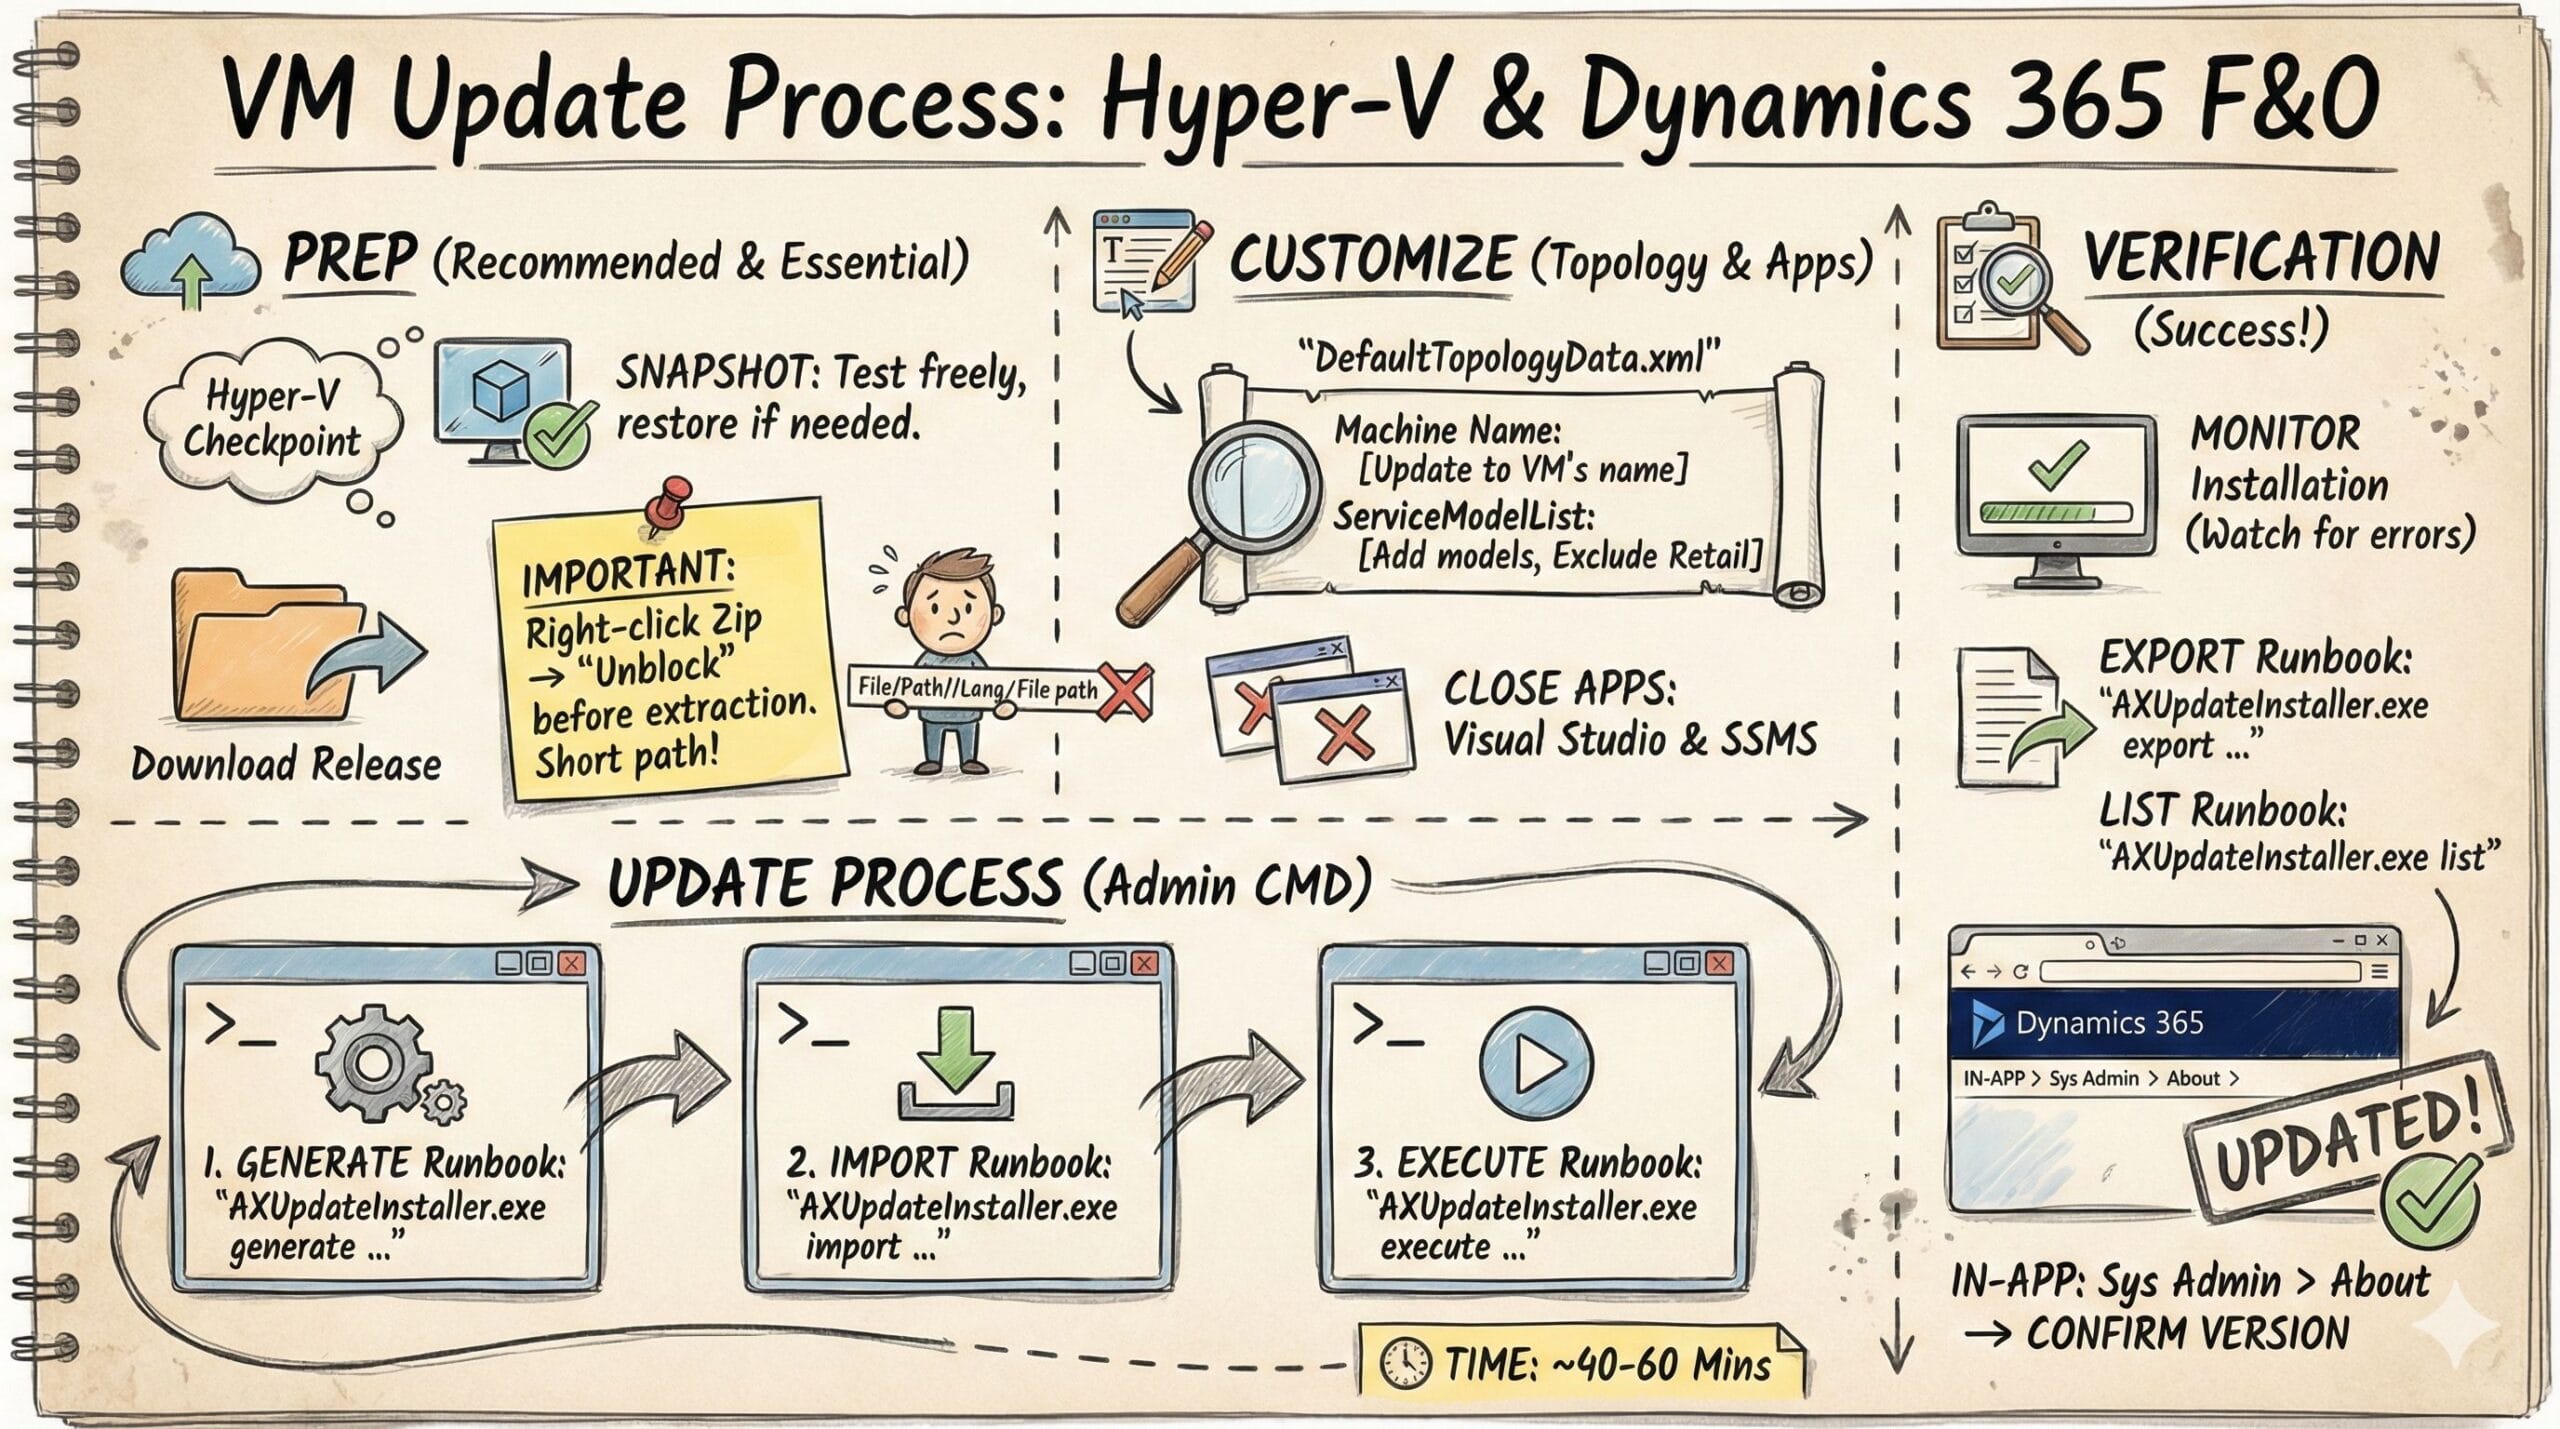
In essence, we use AXUpdateInstaller.exe to install deployable packages based on the runbook’s instructions.
Create a Hyper-V Checkpoint (Optional)
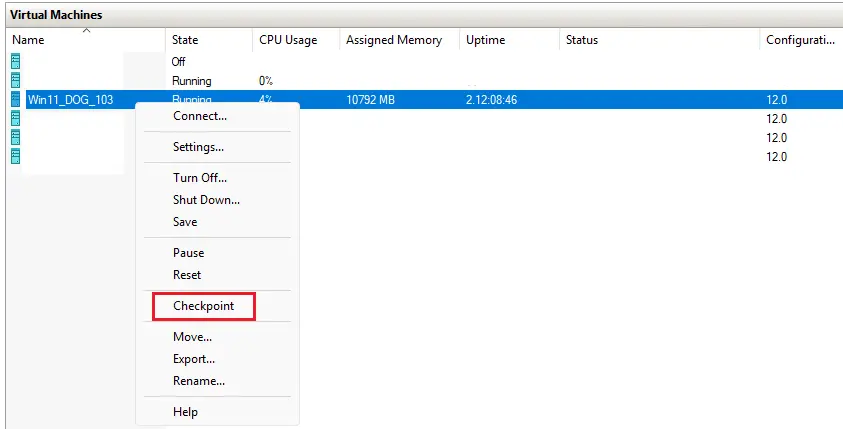
One of the best features of working with VMs is the ability to test freely without impacting your host system.
Hyper-V checkpoints take this a step further—they’re snapshots of your VM’s current state. If something goes wrong, simply restore the checkpoint instead of reinstalling everything.
Pre-Update Steps
Download and Extract the Release
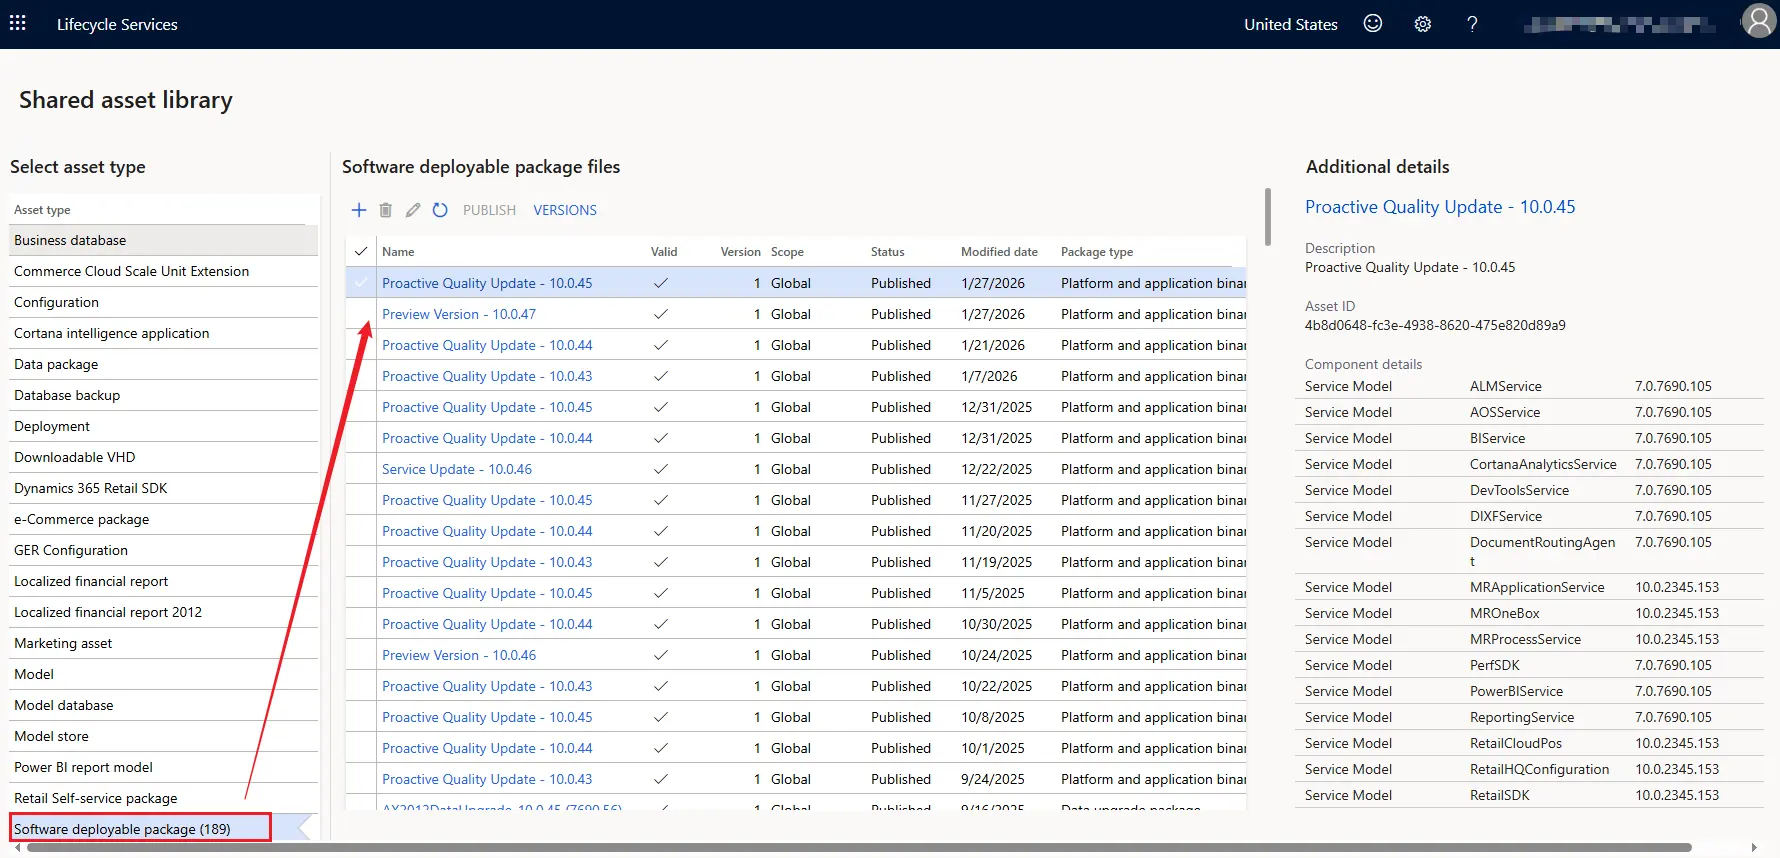
- Download the release package from LCS > Shared Asset Library > Software deployable package

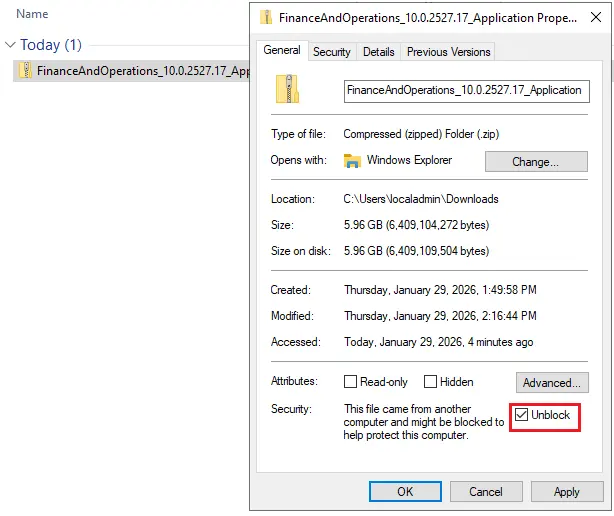
- Important: Right-click the zip file and select "Unblock" before extraction

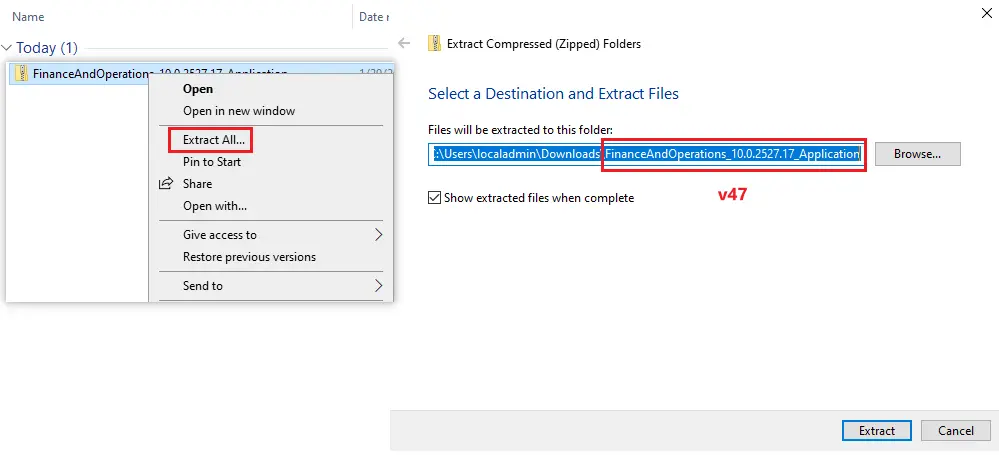
- Extract to a folder with a short name to avoid long path issues during extraction

Customize the Topology File
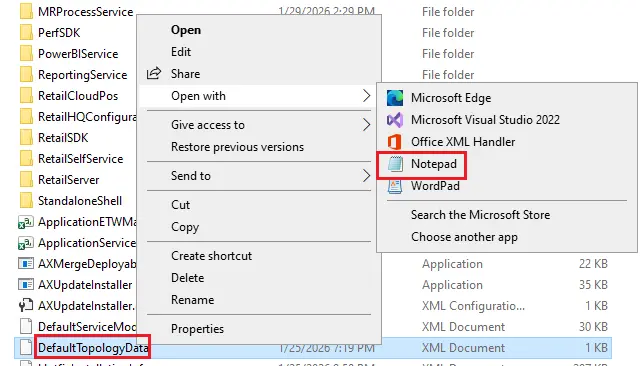
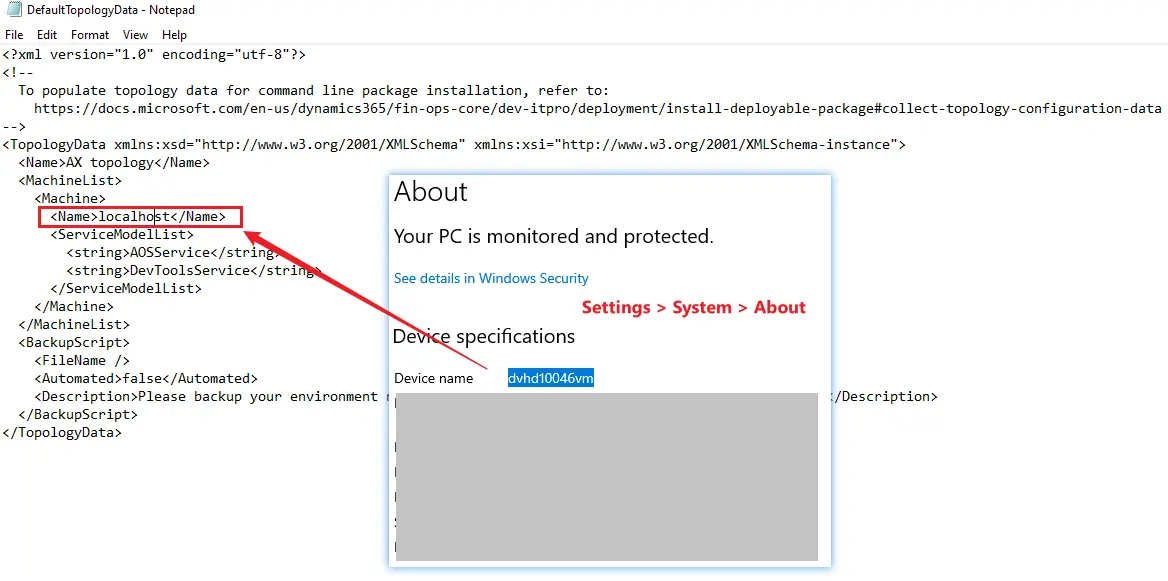
Navigate to the extracted folder and open DefaultTopologyData.xml in your text editor:
Update the machine name
Change the machine name to match your VM’s computer name:

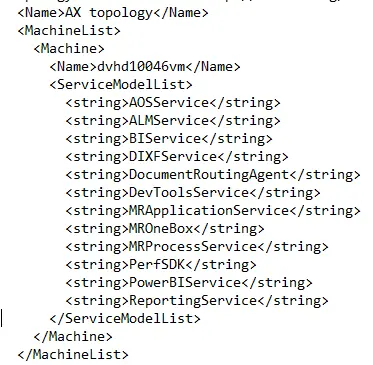
Configure
ServiceModelList
Add the required service models. In my case, I excluded retail models:

Save and close the file.
Close Applications
Close Visual Studio and SQL Server Management Studio (SSMS) before proceeding.
Update Process
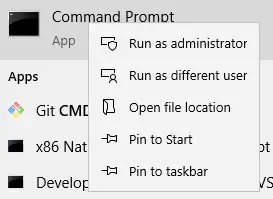
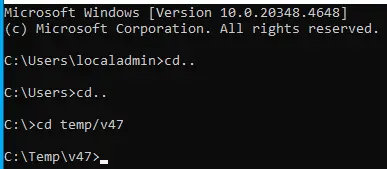
Open Command Prompt as Administrator and navigate to your extracted folder. Then execute these commands in sequence:
Generate the Runbook
AXUpdateInstaller.exe generate -runbookid=[runbookID] -topologyfile=[topologyFile] -servicemodelfile=[serviceModelFile] -runbookfile=[runbookFile]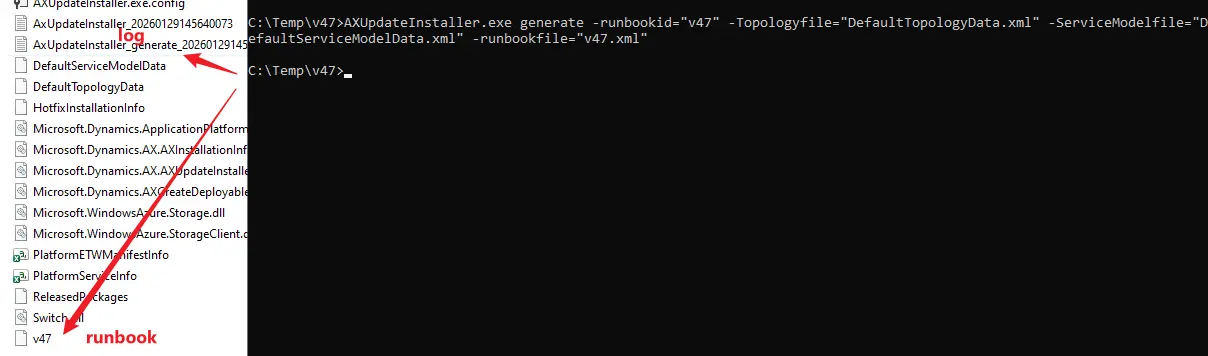
Import the Runbook
AXUpdateInstaller.exe import -runbookfile=[runbookFile]
Execute the Runbook
AXUpdateInstaller.exe execute -runbookid=[runbookID]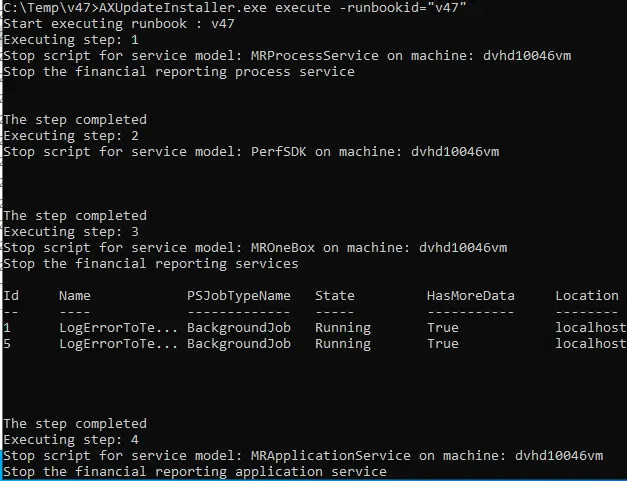
Verification
The update typically takes 40-60 minutes depending on your host configuration. Here’s how to verify success:
1. Monitor the Installation
Watch the command prompt for any errors during execution.
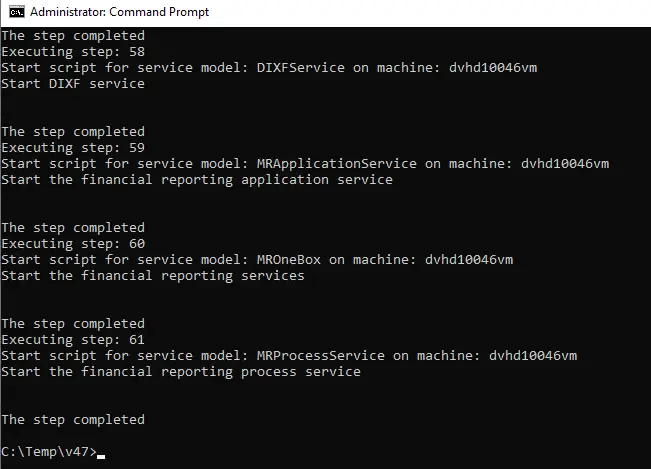
2. Export and Check the Runbook
AXUpdateInstaller.exe export -runbookid=[runbookID] -runbookfile=[runbookFile]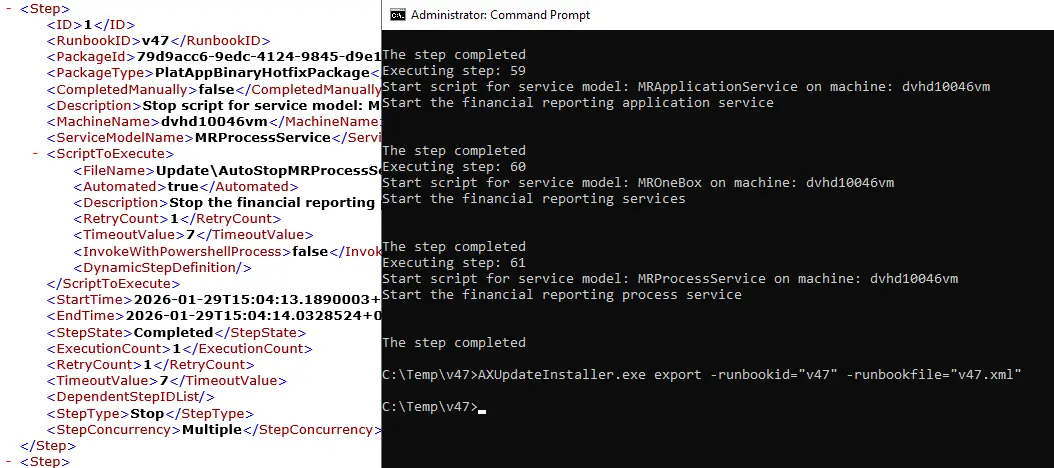
AXUpdateInstaller.exe list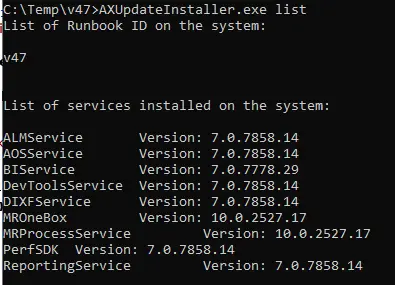
3. Verify in the Application
- Launch Dynamics 365 Finance & Operations
- Navigate to System Administration > About
- Confirm the version has been updated

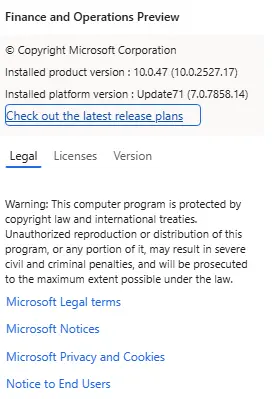
P.S. Unfortunately, the Purchase Requisition error still remains… Guess we’ll need Ali’s PowerShell workaround after all.